
Ever wondered how so many online business owners run successful email courses? It’s actually a pretty simple process, and you can set yours up for free, in just a few minutes.
The beauty of an automated email course is that anyone can sign up at any time. We’re all aware of how easy it is to miss out on live trainings because of a hectic schedule. The first thing you’re going to need to set up your own is a MailChimp account. (You can use other email marketing clients, but this is my personal choice and the one I’ll be using for the purpose of this article.)
Start by creating a new list, that you will use specifically for your email course. You can do this by selecting Lists from the main menu and clicking on Create List. Once your list is set up, select Campaigns from the main menu and click on Create Campaign. Select Create an Email and then click on Automated.
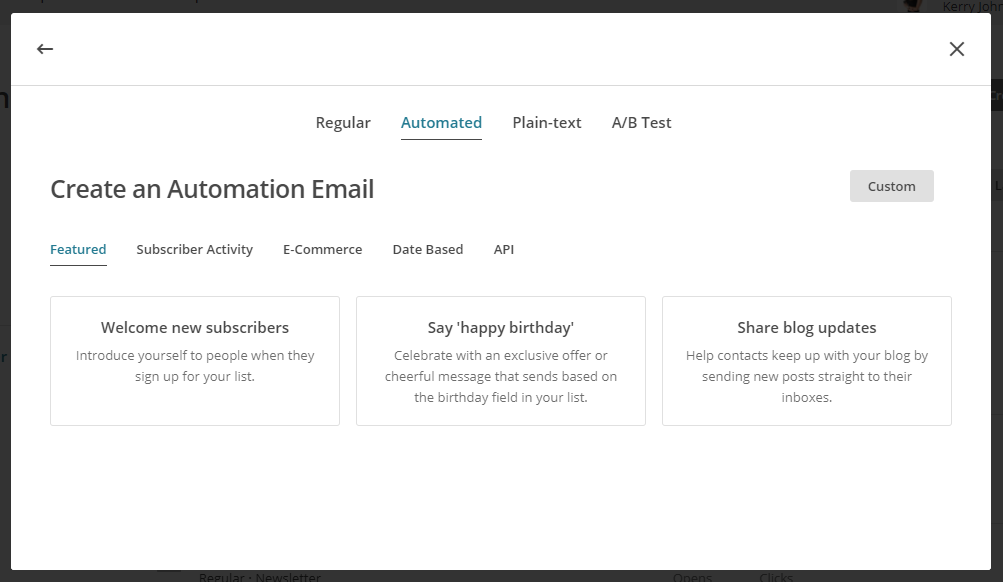
There are a handful on pre-set automation templates that you can choose but, for the purpose of this article, we will select Custom. Name your campaign – for example ‘Your Course Name’ – and then choose your new list from the dropdown menu. Now it’s time to create your ‘triggers’. These are the conditions that must be met in order for the email to be sent out.
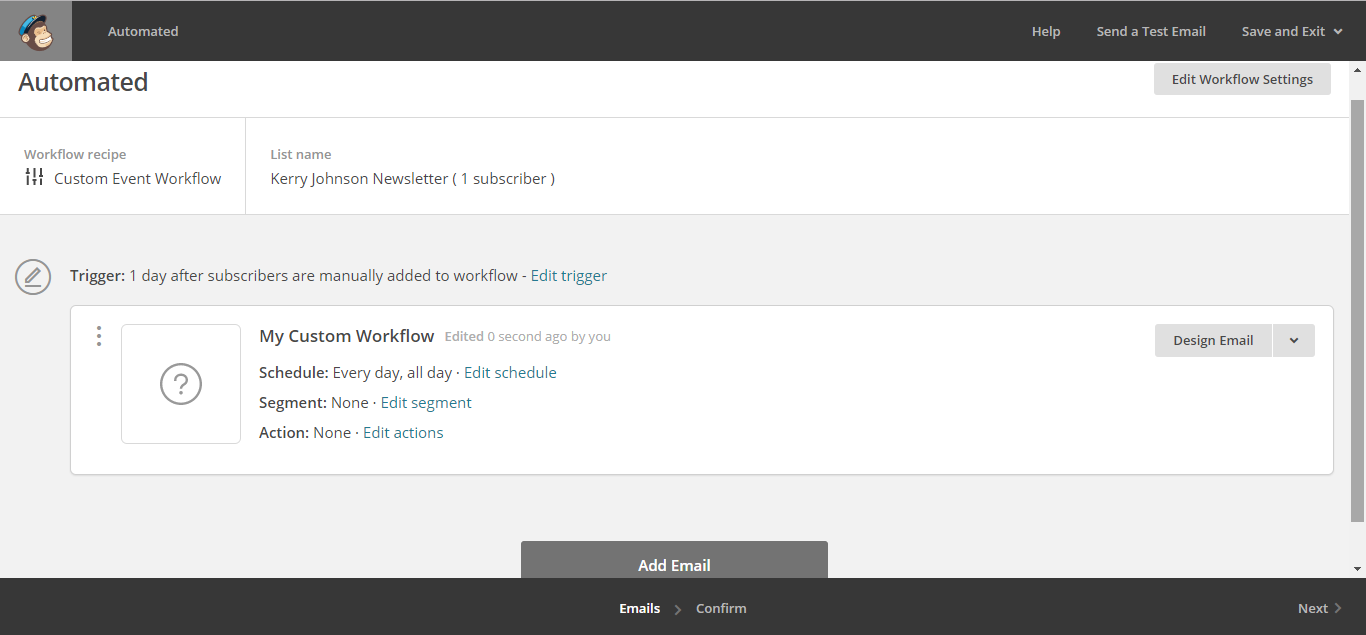
When you click on Add Email, the next trigger will be set as ‘1 day after subscribers are sent previous email’. This is an ideal setting for an email course, although you can also change it, so that subscribers receive the emails any number of hours, days or months apart.
Once you have added the correct number of emails for your course, you can start to design them. Click on Design Email next to each one to do so. You will then be taken through a simple wizard that allows you to set the email subject, from details and content. It really is that simple.
Once you’ve finished designing each email, go back to the workflow and click Next to confirm the automation. And that’s really all there is to it. Now, every time someone subscribes to your new list, they will automatically receive all of the emails you just created. It’s the perfect set-up to deliver a simple email course.
Setting up a Paid Course?
Don’t worry – there are ways to set this up. Perhaps the simplest way is to set up a payment system on your website. Have your visitors pay before receiving the information they need to subscribe to your list.